Why Prep Work Matters More Than the Paint Itself
Exterior paint applied over dirt, mildew or loose old paint will not hold up, no matter how good the paint is. Most paint failures trace back to skipped or rushed prep work, not the paint brand.
1. Wash the Surface First
Dirt, pollen, mildew and chalky old paint all need to come off before anything else happens. Soft washing is typically the right method for siding and trim, since high pressure can strip loose paint unevenly or force water behind siding.
2. Scrape and Sand Loose or Peeling Paint
- Loose or peeling paint gets scraped back to a sound edge.
- Rough or chalky areas get sanded smooth.
- Bare wood spots get primed before topcoat paint.
3. Repair Damaged Trim and Siding
Soft or rotted wood trim, cracked caulking and gaps around windows should be repaired before painting, not covered up by it. Paint is not a substitute for a repair, and painting over a problem area usually means redoing the work sooner.
4. Protect Landscaping and Surfaces
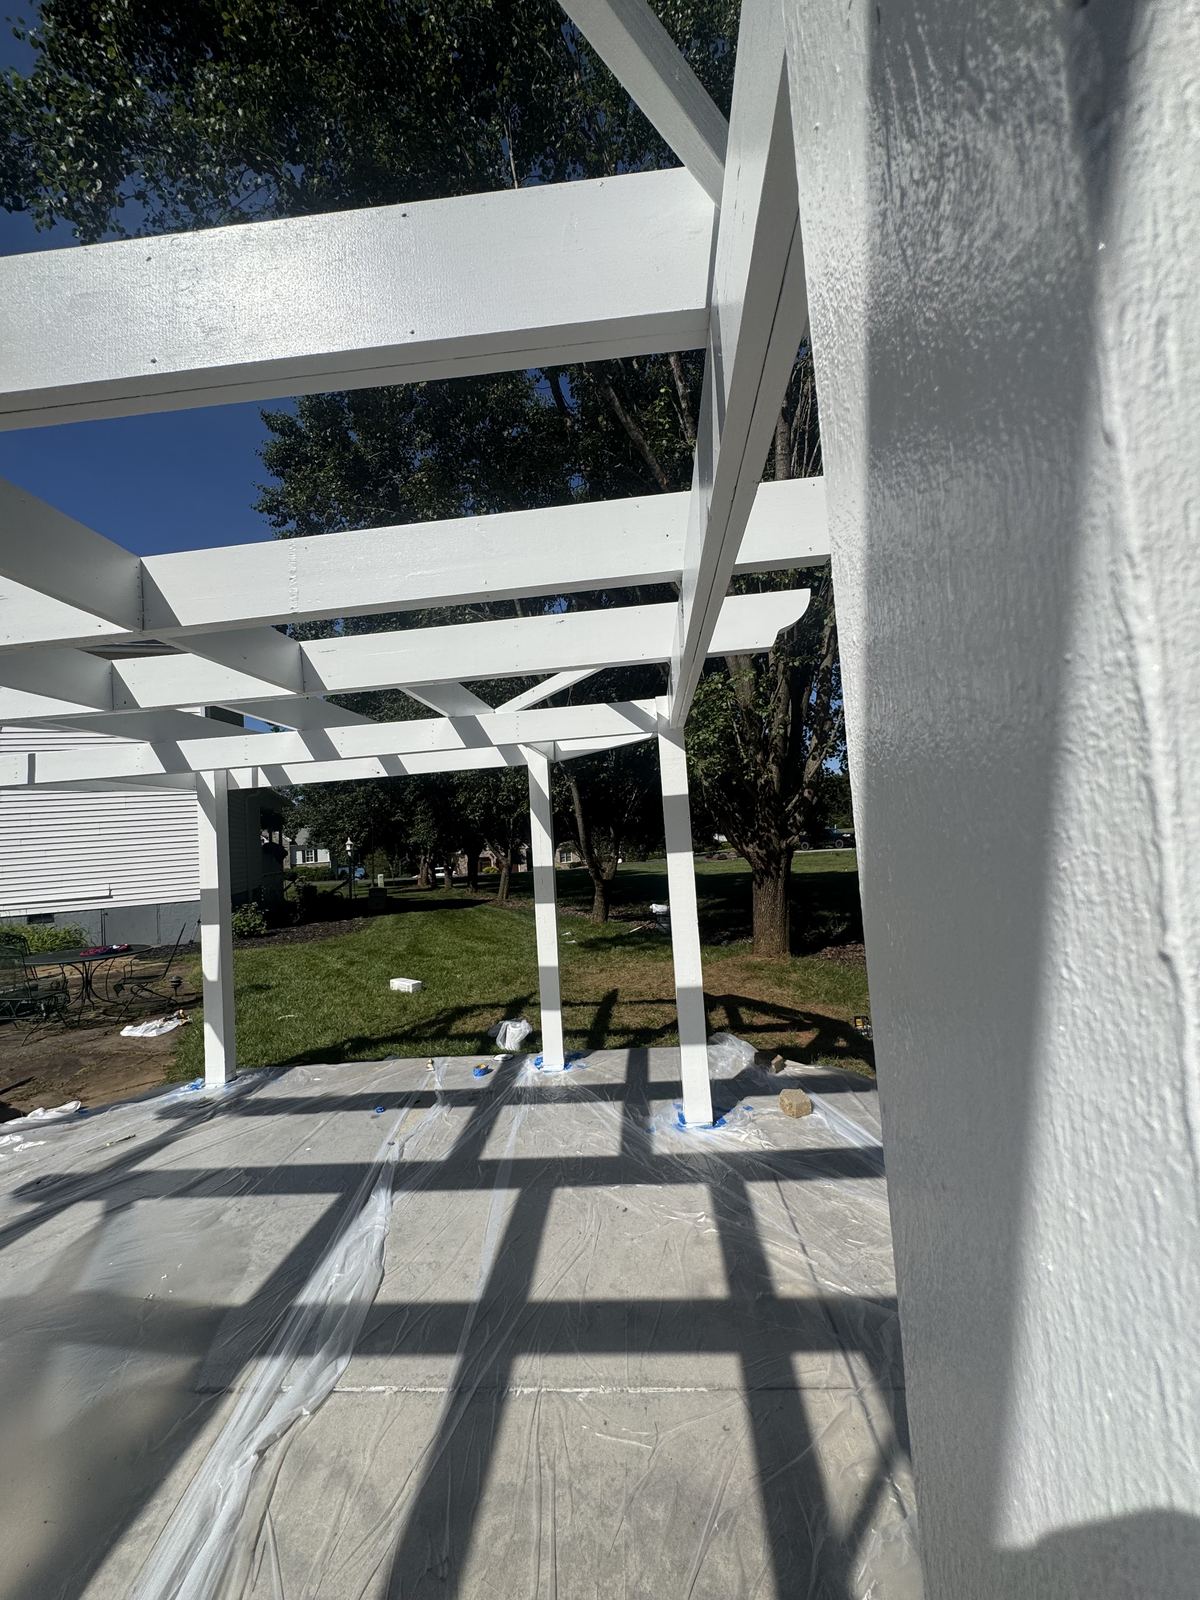
Patios, walkways and landscaping near the work area get covered or masked before scraping and painting begin, keeping the job site cleaner and protecting nearby surfaces.
5. Prime Bare or Repaired Areas
Bare wood, patched trim and repaired siding typically need primer before the topcoat so the new paint adheres evenly and color coverage looks consistent.
What This Means for Timing Your Project
Exterior painting prep takes real time, which is why a full exterior repaint is rarely a one-day job. Building in time for washing, scraping, repairs and priming leads to a paint job that actually lasts, rather than one that needs touch-ups within a year. Exterior painting and exterior cleaning are often coordinated together so the wash happens right before prep starts.
Planning an exterior paint job?
Send photos of the siding and trim. Trashout can scope washing, prep and painting together.